The Template designer is used to create a variety of custom content, such as:
- Automobile dealership signs
- Business intelligence dashboards
- Corporate messages
- Financial market information boards
- Flight departure and arrival displays
- Hotel lobby signage
- Message boards
- Restaurant menus
- Travel information signs
- And many others…
Supported content
Templates support the following content:
- Typed-in text
- Geometric shapes (rectangles, ellipses)
- Current date
- Current time
- Data tables (datagrid) – RSS, MediaRSS, XML, Twitter*, Facebook*, Google Calendar*
- Custom backgrounds (solid color, images)
- Image overlays (logos, transparent PNG images)
- Playlist zones
- Media zones
- Individual data fields – RSS, MediaRSS, XML, Twitter*, Facebook*, Google Calendar*
* Twitter, Facebook, and Google Calendar features available Q2 2018
You can add any number of the content listed above to any template.
Supported layouts
Templates automatically adapt to the player’s screen settings, including different screen orientations (portrait or landscape). Multiple displays are also supported. With multi-display layouts, you can create designs that span all available displays with multiple playlist or media zones as needed.
Creating a new template
- To add a new template to your library, right-click in the desired folder and select Add > Template.

Quick tour of the template designer interface
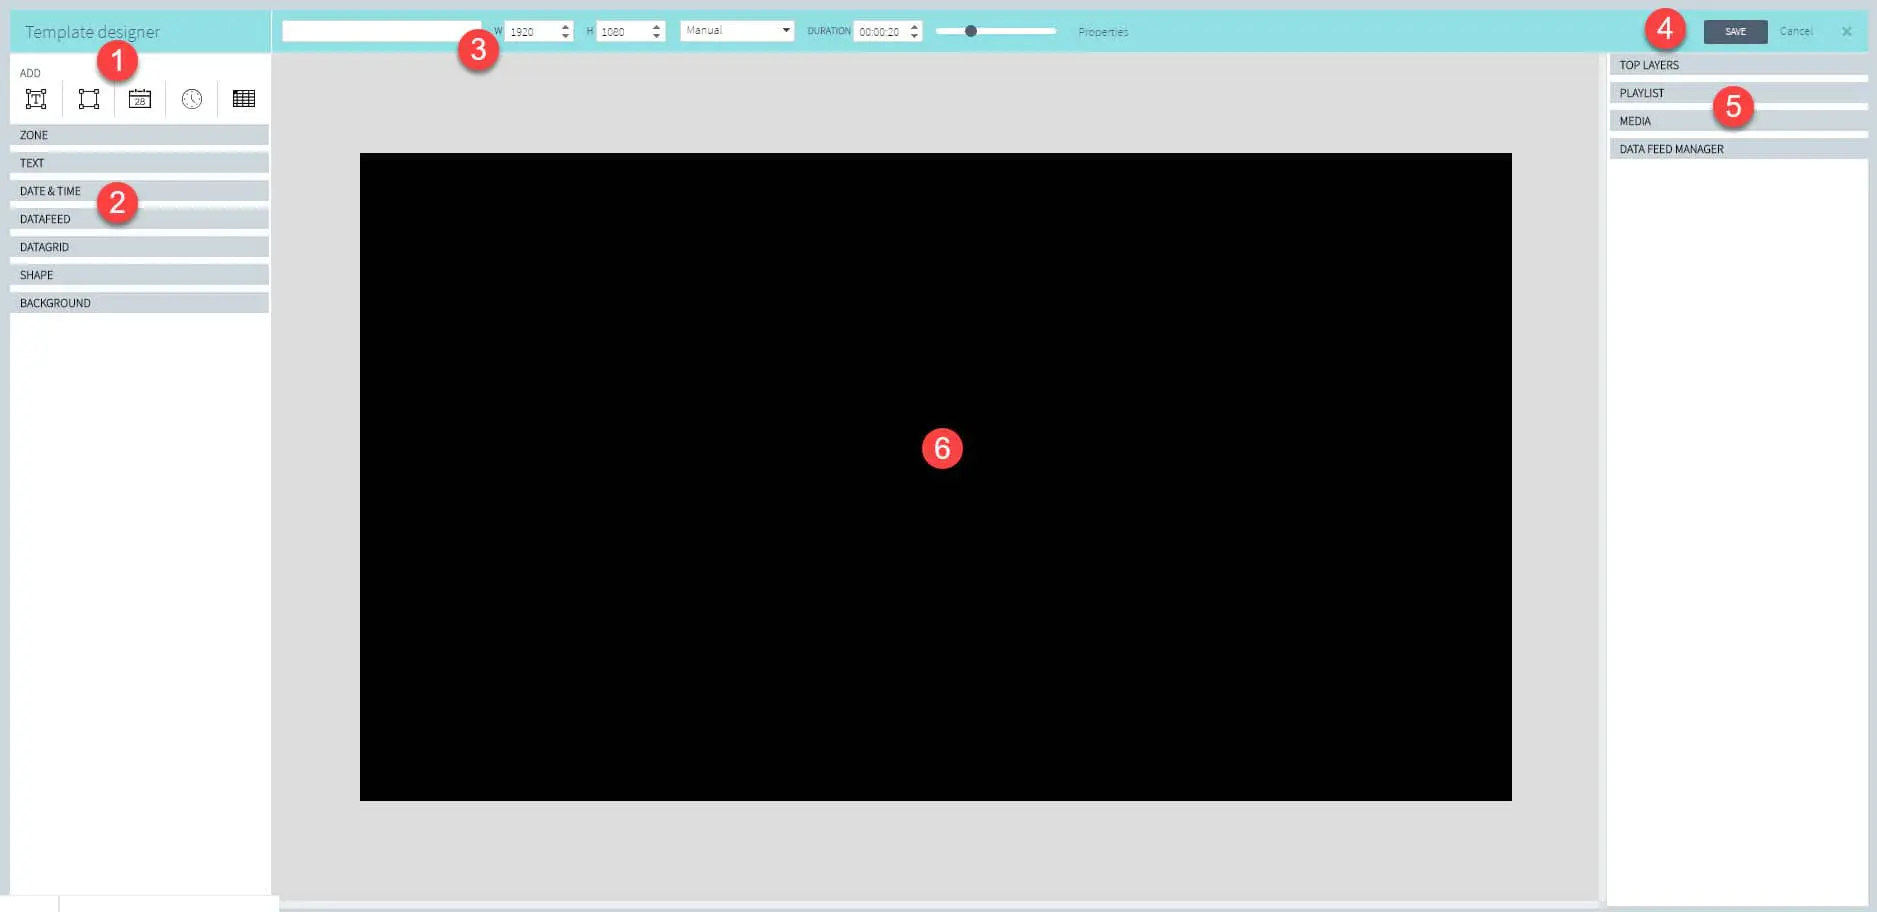
1. ADD: Text box, geometric shape, current date, current time, data grid.
- Selecting one of these items will add it to the stage area (#6).
- Items are laid out on their own layer. Items can be reordered forward or backward as needed.
2. Item Properties: Zone, text, date & time, datafeed, datagrid, shape, background.
- Each time you click on an item, a series of properties will expand so you can access and modify them. For example, clicking on a text box will expand the Zone and Text properties so you can change their parameters.
- Different items have different types of properties.
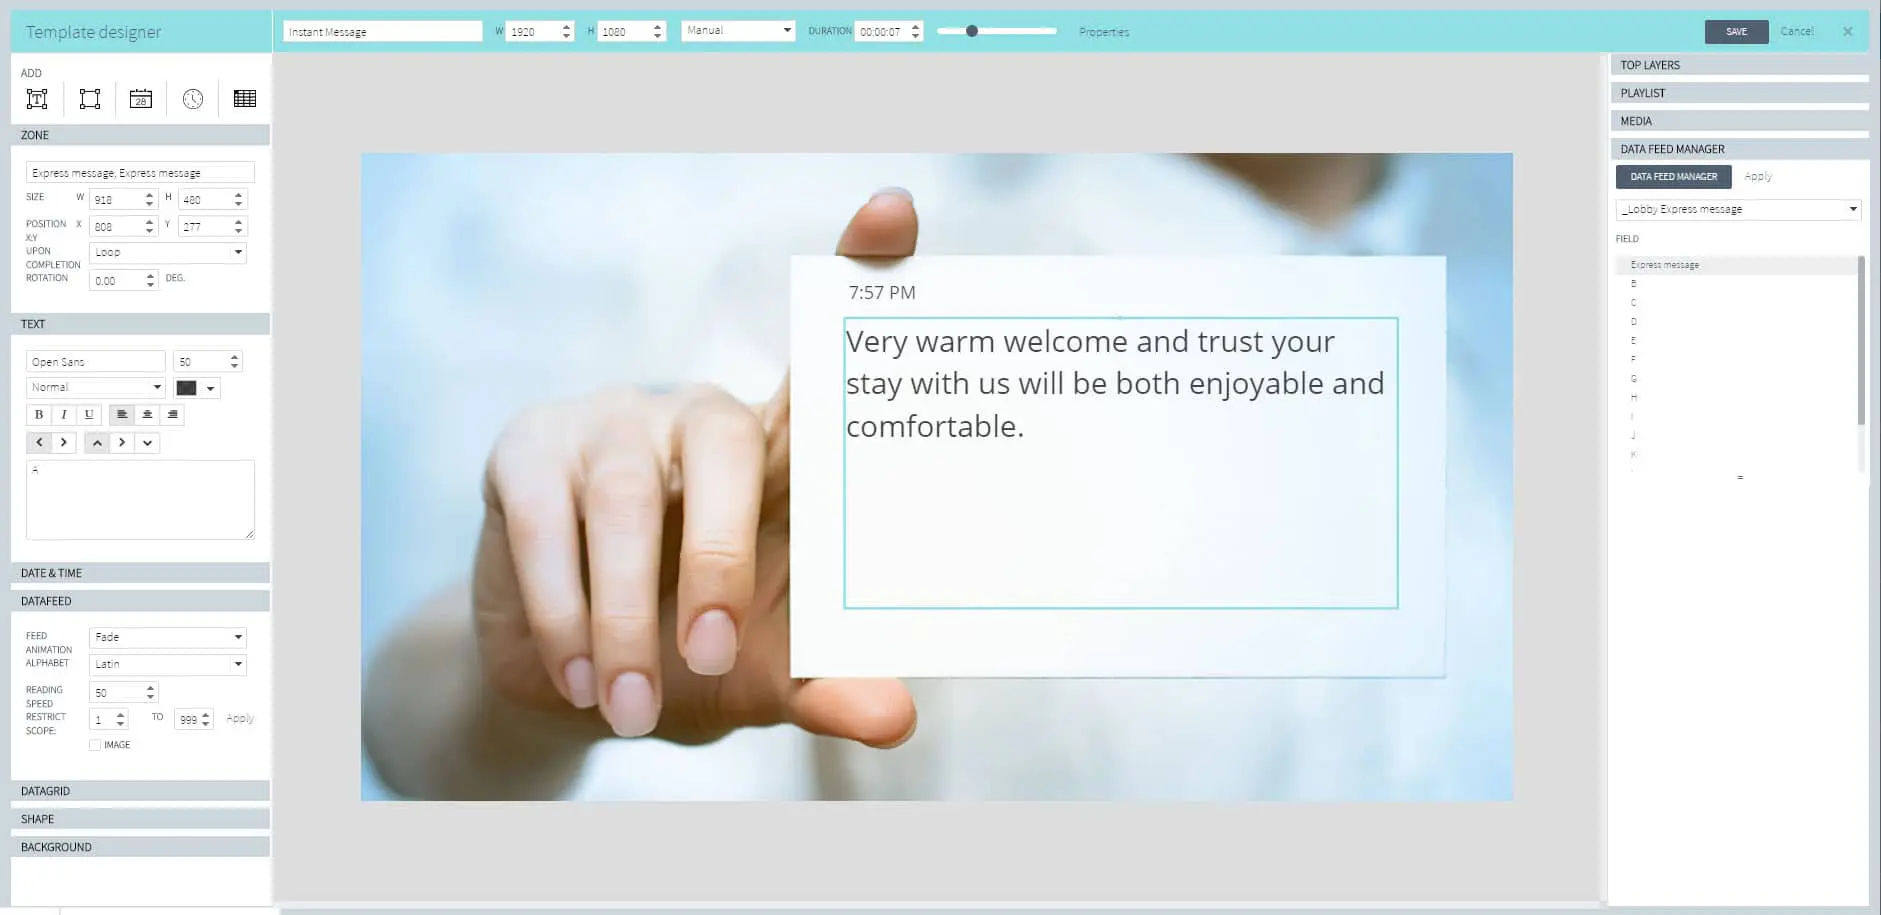
- The Background setting is set to black by default. You can select any color or upload images for your template backgrounds. Background images are not retrieved from the content library. They must be uploaded into the template designer where they will be stored. To use them, click the tab, then click the image to apply. Background images re-size (stretch) to fill the entire template. To change the background, click anywhere on the background area then either select a color or different image by clicking it.
3. Tool bar: Template name field, horizontal size, vertical size, duration setting, duration time, zoom view, template properties.
- Templates must be assigned a name before they can be saved to the content library.
- The template size will match the screen resolution for the player’s in the currently selected group. If the group contains players with different screen resolutions, the highest resolution will be used. If the display orientation is portrait, the template will appear in portrait mode in the designer. Note that dimensions can be overridden by the user, if necessary.
- The duration is set to MANUAL (uses the duration time, default is 20 seconds) as long as the template contains static content. When multiple content items, or content with a duration longer than 20 seconds is added, the duration will switch to AUTOMATIC and it will match the total duration of all the content added to the template. You can switch it back to manual by clicking on the pull down menu, however, adding new content will switch the setting back to automatic.
- The default duration is set to 20 seconds and can be changed either manually or by adding content with a longer duration.
- The template view can be zoomed in or out using the slider. You can drag the slider with your mouse or click on each side of the indicator.
- The template properties window is accessed by clicking the properties link.
4. Save / Cancel / X: Click the desired option.
- Only named templates can be saved.
- Save your work periodically. Closing the browser tab or window, clicking the browser back button, will log you off and you will lose any unsaved work.
- Clicking Cancel or X have the same effect. The template designer window will close and your work will not be saved.
5. Layers, zones and data: Top layer images, playlist zones, media zones, data feed manager.
- Top layer images will always appear on the top layer. Top layer images are not retrieved from the content library. They must be uploaded into the template designer where they will be stored. To access them, click the Top layer tab, then drag and drop the image into the template area. Top layer images will overlap any other content on the template. They always appear on top.
- Playlists can be dragged and dropped anywhere on the template area. This will create a playlist zone. Playlist zones can be repositioned and resized using the mouse or by changing the values (width, height, X, Y) under the Zone tab on the left side of the designer screen. You can add as many playlist zones as you want. Playlist zones can touch but cannot overlap. You can assign multiple playlist to a zone by dragging and dropping their symbol into any zone. Content assigned to the referenced playlists will play in the zones according to the playlist properties. NOTE: A playlist assigned to one or more template zones cannot be used for scheduling content. The reverse is also true.
- Media items can be dragged and dropped anywhere on the template area. This will create a media zone. Media zones can be repositioned and resized using the mouse or by changing the values (width, height, X, Y) under the Zone tab on the left side of the designer screen. You can add as many media zones as you want. Media zones can touch but cannot overlap. You can assign multiple media items to any media zone by dragging and dropping their symbol into a zone.
Important considerations
- Text boxes, time, date, geometric shapes, top level images and data (datagrids and data fields) can overlap any other template element, including playlist and media zones.
- Playlist and media zones cannot overlap. If any of these zones overlap you will not be able to save your template until the overlap is resolved.
- Be sure to save your work periodically.
Duplicating templates
- You can duplicate templates via right-click > copy / paste in the content library window.
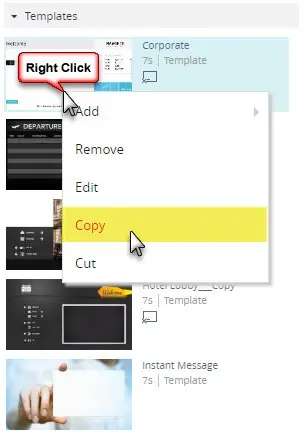
To paste a template, be sure to right-click in between thumbnails or in an empty area of the content library window.
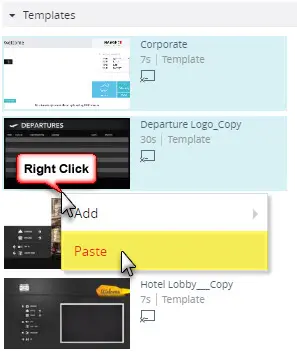
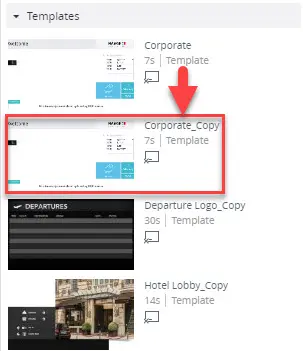
The duplicate template name will appear with the extension _Copy.
You can edit and rename the duplicate template as required.